Finding vehicle upgrades that deliver real value requires more than comparing sticker prices. It requires evidence, careful measurements, and a clear understanding of your driving needs. Automotive consumer expert Ronald Montoya advises, “A good upgrade is one that solves a problem you actually have.” That principle guides this article’s approach to how to find cost-effective vehicle upgrades without chasing flashy accessories.
Begin with the vehicle’s current condition. A tire-pressure gauge, service record, and fuel-use notes can reveal where money may matter most. For example, quality tires may improve braking, rain control, and road comfort more effectively than decorative trim. A properly fitted roof rack can help frequent travelers, but it may increase wind noise and fuel consumption. Small trade-offs matter.
This guide compares upgrade prices, installation costs, expected lifespan, warranty coverage, and compatibility. It also considers independent reviews and feedback from experienced mechanics. A cheaper part is not automatically a better choice. Some low-cost components wear quickly, fit poorly, or create extra labor charges. That lesson is easy to overlook.
No checklist is perfect. Even careful buyers can misjudge their priorities. An upgrade that works beautifully for a commuter may disappoint a family driver or weekend traveler. The following sections examine practical options, from lighting and tires to comfort and efficiency improvements, while keeping safety and long-term ownership costs in view. The goal is simple: spend deliberately, measure the result, and question every tempting bargain.
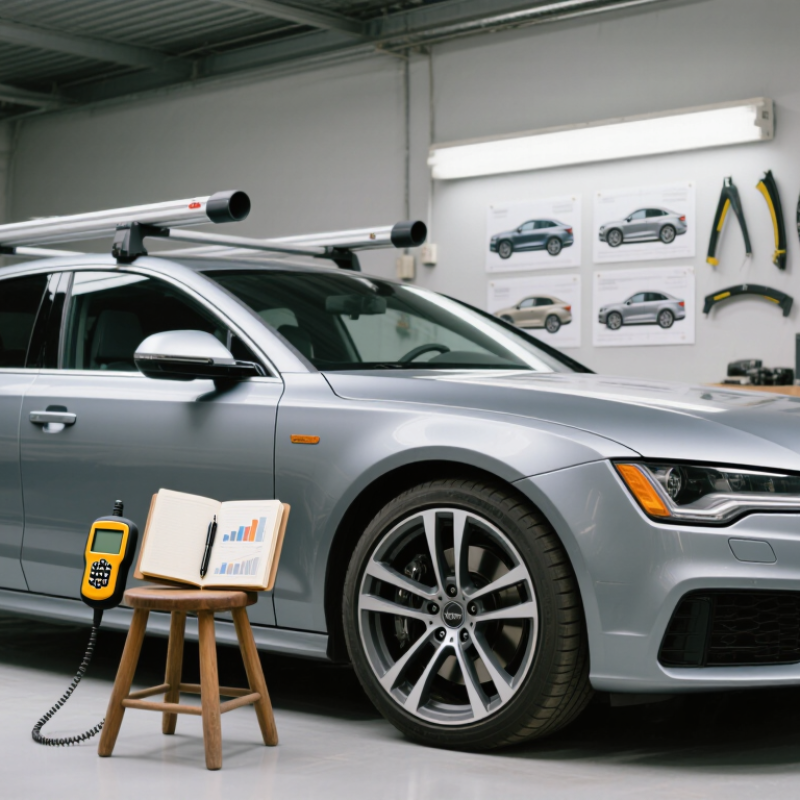
Top Ways to Find Cost Effective Vehicle Upgrades
Assess your vehicle’s needs before shopping for upgrades. A worn tire, weak brake response, or cloudy headlight deserves attention before cosmetic changes. Check the owner’s manual, service records, and current mileage. These details reveal what the vehicle actually needs. A short inspection can prevent an expensive mismatch. Measure available space, confirm electrical requirements, and check whether the upgrade affects visibility or control. Safety should guide the budget.
Prioritize problems that improve reliability, comfort, or daily usefulness. For example, replacing damaged floor mats may protect the carpeting, while better interior lighting can improve nighttime visibility. Avoid choosing parts only because they look impressive online. They may add weight, create installation problems, or provide little real value. I would also leave room for doubt. A cheaper option can fail sooner, but the most expensive option may not be necessary.
Tips: Set a firm spending limit. Compare total costs, including tools and installation. Read independent reviews from long-term users. Ask a qualified technician about compatibility. Keep receipts and installation notes. Test one upgrade at a time, then observe changes during normal driving. A simple phone note can track noise, comfort, fuel use, and maintenance concerns. This process is slower, but it exposes upgrades that seemed useful and were not.
Prioritize upgrades that improve safety, reliability, or operating efficiency. The chart shows typical U.S. installed-cost midpoints for common vehicle upgrades; actual prices vary by vehicle type, location, and required parts.
Planning ranges represented: tire-pressure service ($0–$20), engine air filter replacement ($20–$60), LED headlight bulb replacement ($50–$200), wheel alignment ($100–$200), brake pad replacement per axle ($300–$800), and four quality replacement tires ($500–$1,000). Safety-related needs should generally be addressed before comfort or appearance upgrades.
Cost-effective vehicle upgrades begin with a clear comparison, not the lowest price. List the part, installation, tools, maintenance, and possible adjustment costs. A cheap component can become expensive after repeated replacements. Quality should be judged through material strength, finish, warranty terms, and verified test information. Look for consistent measurements and clear installation instructions. Vague claims deserve caution. During practical inspections, check mounting points, fasteners, wiring routes, and moving clearances before purchase. Measure twice. Fit matters.
Compatibility often decides whether an upgrade is genuinely useful. Confirm the vehicle’s model year, engine configuration, existing equipment, load limits, and available space. Compare specifications with the original system, not with a forum photograph. Ask a qualified technician to review uncertain measurements, especially around steering, braking, suspension, or lighting. Professional advice may cost less than correcting poor fitment. Test one change at a time, then check noise, vibration, heat, and warning indicators during a controlled drive. Keep receipts and installation notes for later troubleshooting. My own estimates can be too optimistic when labor is overlooked. That is worth admitting. Recheck fasteners after the first few drives, because settling can change alignment.
Top Ways to Find Cost Effective Vehicle Upgrades
Choose Reliable Parts and Cost-Effective Installation Methods
A cheaper upgrade is not always a better upgrade. Reliable parts should match your vehicle’s model, year, and intended use. Check the manufacturer’s specifications, material quality, safety ratings, and warranty terms before buying. Independent testing reports can reveal weaknesses that product photos hide. I also compare return policies, because an incorrect fit can quickly erase any savings.
Installation costs deserve equal attention. Simple upgrades, such as replacing interior lighting or air filters, may suit a careful owner with basic tools. More complex work needs a qualified technician, especially when alignment, braking, wiring, or sensor calibration is involved. Ask for a written labor estimate before work begins. Request the required torque settings and inspection steps. Clear communication prevents surprise charges.
Buying several compatible parts together may reduce labor time. However, bundling unnecessary upgrades can waste money. I have seen owners replace a working component simply because a kit included it. That choice looked efficient, but it was not. A second inspection is sometimes worthwhile. Keep the original parts until the upgrade performs correctly. Test the vehicle on a quiet route, listen for unusual noises, and check fasteners after the first drive. Small mistakes happen. Careful review catches them early.
| Upgrade Category | Recommended Reliable Part | Typical Parts Cost (USD) | Estimated Labor Time | Cost-Effective Installation Method | Expected Service Life | Potential Value |
|---|---|---|---|---|---|---|
| Cabin Comfort | Cabin air filter with a pleated particle filter | $15–$35 | 0.2–0.5 hour | DIY replacement using the vehicle service manual | 12,000–15,000 miles or about 12 months | Improves airflow and helps reduce dust and pollen inside the cabin |
| Lighting | Road-legal LED replacement bulbs compatible with the original housing | $40–$120 | 0.5–1.0 hour | DIY installation when access is simple; check beam alignment afterward | 2–5 years, depending on use and heat exposure | Improves visibility when correctly fitted without replacing the complete lamp assembly |
| Battery Reliability | Vehicle-compatible maintenance-free 12-volt battery | $120–$220 | 0.3–0.6 hour | Compare reserve capacity, cold-cranking rating, warranty, and physical fit before purchase | 3–5 years in moderate climates | Reduces starting problems and can be less expensive than emergency replacement |
| Braking | Vehicle-specific ceramic brake pad set with matching hardware | $80–$180 per axle | 1.5–2.5 hours | Use an independent repair shop for inspection, torque checks, and post-installation testing | 30,000–70,000 miles, depending on driving conditions | Can reduce brake dust and noise when correctly matched to the vehicle |
| Tire Performance | Four properly sized all-season tires with an appropriate traction rating | $400–$800 per set | 1.0–1.5 hours | Compare installed pricing, road-hazard coverage, mounting, balancing, and alignment costs | 40,000–70,000 miles, subject to wear and maintenance | Supports braking, wet-road grip, ride comfort, and fuel efficiency |
| Ride and Handling | Vehicle-specific shock absorbers or strut assemblies | $180–$450 per pair | 2–4 hours | Install in axle pairs through a qualified shop and obtain a wheel alignment when required | 50,000–100,000 miles, depending on roads and load | Helps maintain tire contact, ride control, and predictable handling |
| Cargo Utility | Load-rated roof crossbars with vehicle-compatible mounting hardware | $150–$350 | 0.5–1.0 hour | DIY installation using the specified torque settings and maximum roof-load limits | 5–10 years with regular inspection | Adds carrying capacity without requiring permanent body modifications |
| Safety Recording | Front-facing dash camera with reliable memory-card support | $80–$250 | 1–2.5 hours | Use a hidden cable route; choose a professional hardwire installation for parking-mode recording | 3–5 years with periodic memory-card replacement | Provides video evidence and may improve awareness of driving events |
| Cost note: Estimates are typical U.S. aftermarket ranges for common passenger vehicles and exclude taxes, diagnostic fees, alignment, unusual corrosion, and vehicle-specific modifications. Confirm compatibility, safety ratings, warranty terms, and local regulations before installation. | ||||||
DIY upgrades can reduce costs, but only when the job matches your skills.
I have installed interior lighting, storage organizers, and a reversing camera with basic tools. These projects required patience, a trim tool, a voltage tester, and clear instructions. Measure twice. Loose wiring can create rattles, drained batteries, or safety concerns.
Professional services make more sense for brakes, suspension, steering, and complex electrical systems.
A qualified technician can inspect hidden damage and use calibrated equipment. Ask for a written estimate covering labor, parts, testing, and possible extra repairs. Confirm that the work follows local safety rules and does not affect required vehicle equipment. A cheap installation becomes expensive when poor alignment causes uneven tire wear.
I once underestimated a simple wiring upgrade.
The installation worked, but the cable route looked untidy beneath the dashboard. I had to remove the panel again. That mistake taught me to plan access before cutting or fastening anything.
DIY savings are real, but time has value too.
If the repair manual feels unclear, pause and seek professional advice. Keep receipts, installation notes, and photographs for future servicing.
Cost-effective vehicle upgrades create value only when their condition and performance remain measurable over time. A brighter lighting system, improved suspension, or protective interior material should solve a real driving problem. Record mileage, fuel use, repair history, and vehicle condition before spending money. Take clear photos. Keep receipts and installation notes. These records make later comparisons more reliable.
After installation, measure practical results under similar conditions. Track fuel economy across several tanks, not one short trip. Note braking feel, cabin noise, ride comfort, and tire wear. Use a simple spreadsheet with dates, mileage, costs, and observations. Professional inspection can reveal loose fasteners, uneven alignment, heat damage, or premature wear. Small defects often become expensive when ignored. My own mistake was judging comfort during one smooth drive. Daily rough roads told a different story.
Value includes safety, durability, maintenance effort, and resale appeal, not only appearance. Review each upgrade after 30, 90, and 180 days. Ask whether it still performs as expected. Some improvements need cleaning, calibration, tightening, or scheduled replacement. Follow qualified installation guidance and keep original parts when practical. That choice preserves flexibility. If an upgrade causes frequent repairs or reduces reliability, remove it, even if it looked impressive at first. Honest measurements may challenge the original decision, but they protect long-term vehicle value.
Include the part, installation, tools, maintenance, and adjustment costs. The lowest price may mislead. Repeated replacements can cost more.
Check material strength, surface finish, warranty terms, and verified test information. Look for consistent measurements. Clear instructions matter. Vague claims deserve caution.
Check the model year, engine configuration, existing equipment, load limits, and available space. Compare specifications with the original system. Do not rely on one forum photograph.
Inspect mounting points, fasteners, wiring routes, and moving clearances. Measure twice. Fit matters. Ask a qualified technician about uncertain measurements.
Interior lighting, storage organizers, and reversing cameras may suit careful beginners. Basic tools can help. You may need a trim tool and voltage tester. Loose wiring can cause rattles or drain the battery.
Use professional help for brakes, suspension, steering, and complex electrical systems. A qualified technician can find hidden damage. Calibrated equipment improves inspection accuracy. Safety systems deserve extra care.
Request written prices for labor, parts, testing, and possible extra repairs. Confirm compliance with local safety rules. Ask whether required vehicle equipment remains unaffected. Unexpected costs happen.
Test one change at a time during a controlled drive. Check noise, vibration, heat, and warning indicators. Recheck fasteners after several drives. Settling can change alignment.
Keep receipts, installation notes, measurements, and clear photographs. These details help future servicing. They also support troubleshooting. My labor estimates can be too optimistic.
Learning how to find cost-effective vehicle upgrades begins with identifying your vehicle’s actual needs, driving habits, and most important improvement goals. Prioritize upgrades that improve safety, reliability, comfort, efficiency, or useful performance rather than spending on unnecessary features. Compare available options by total cost, expected quality, durability, and compatibility with your vehicle. A lower-priced component may not provide good value if it requires frequent replacement or creates installation problems, so consider long-term ownership costs as well as the initial purchase price.
Choose dependable parts from reputable sources and select installation methods that balance savings with safety. Simple upgrades may be suitable for careful DIY work, while complex electrical, structural, or mechanical tasks are better handled by qualified professionals. After installation, maintain each upgrade properly and monitor its results through changes in comfort, fuel efficiency, reliability, or driving performance. By reviewing actual benefits over time, you can confirm whether an upgrade delivers meaningful value and make smarter decisions for future improvements.

Motix Car